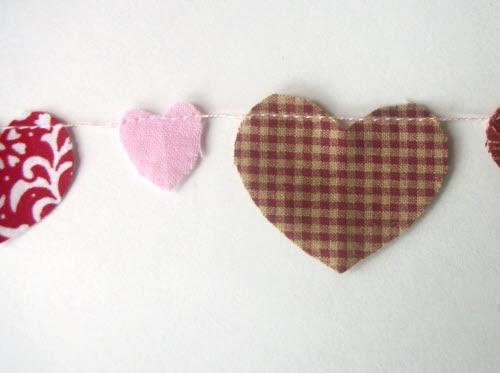
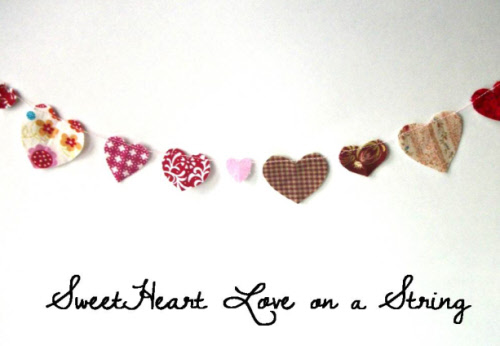
Valentine’s Day is quickly approaching, and it’s a great time to gather up your fabric scraps, upholstery samples and thrift store finds to make the perfect gift for the special people in your life. Just follow this simple and easy tutorial by Saved By Grace Designs’ Andrea Anderson to make a “SweetHeart Love String” garland to decorate your home or office or give as a gift to your Valentine. You’ll be making the world more beautiful while upcycling disregarded materials once destined for the trash.
“I love to upcycle because it’s in my practical, frugal nature to get the most out of what I purchase,” said Andrea. “I also think in our throw-away society, anything we can do to eliminate landfill waste creates a healthier environment and a healthier us.”
This sweetheart of a project is perfect for scraps of fabric, felt, paper or other materials which can be stitched together using a sewing machine. You’ll also need an iron, scissors, thread, a sewing machine and liquid seam sealant/fusible web (optional) to complete your garland.
How to Make a Valentine’s Day Garland from Scrap Fabric
1. Gather your fabric scraps. Pinks and reds are great choices to make a traditionally Valentine’s themed garland, but whites or non-traditional colors would work well too. (Designer note: If needed, iron your scraps to remove wrinkles and creases.)
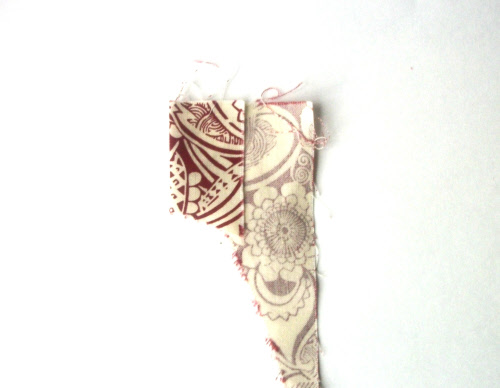
2. For each scrap iron a fold in the material approximating the width of half of your heart. In this project, it doesn’t matter whether you iron with the right- or wrong- sides together. Like so:
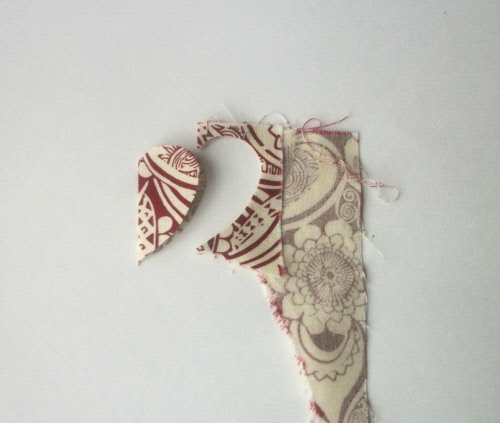
3. Next, using fabric scissors cut out half a heat shape. If you prefer uniform hearts, create a cardboard template first. Andrea did this free hand for a more relaxed feel, and varied the heart lengths between ½” and 1½”.
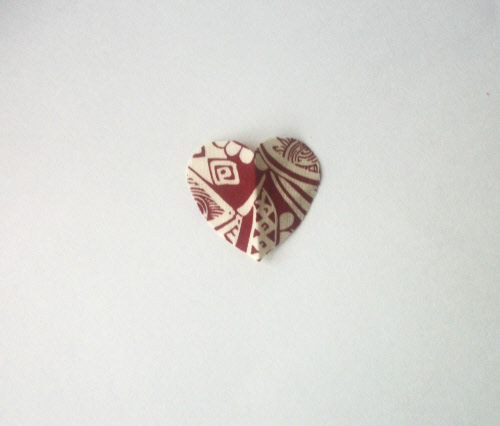
4. After you cut out each heart, press it flat with your iron. If you want to completely eliminate the crease, you may need to spritz it with water.
5. This next step is optional, but helpful for fabrics with a loose weave and/or ones that look like they’re fraying after you cut out the heart shape. Dip the tops of the hearts into some liquid seam sealant and lay flat to dry. Or, if you’re using fusible web, iron it to the back of each heart.
6. Once your hearts are prepared, arrange them in a pleasing pattern. The designer chose to randomly vary the sizes and colors, but if you prefer a more formal look, try a repetitive pattern either with the colors and/or heart sizes.
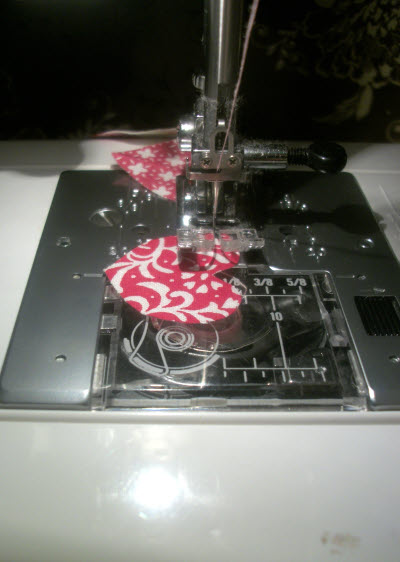
7. Now for the stitching. Andrea threaded her machine with a light pink thread, but white or red would work as well. Make sure you leave enough of a tail (about 2-3”) at the beginning of your string so it can be tied or taped to something when you’re finished. With your presser foot raised, place your first heart under the needle, bring the needle all the way down and lower the presser. Using a straight stitch, begin stitching your hearts together – the stitches should go through the top ¼ of the heart and leave about a ½’space between each heart.
A good guide for this is as you finish stitching a heart and it reaches the back part of the presser foot, thread your next heart into place to be stitched. This probably sounds a lot more complicated than it really is, but if you’re unsure, try a few practice hearts until you’re pleased with the results.
8. Here you can see what the hearts look like when stitched together. Notice where the thread line lies on each heart – this is important as a lower thread line will cause the hearts to flip upside down when you go to string them up.
9. When all your hearts are stitched, cut the threads, again leaving a 2”-3” tail.
10. If this is a gift, or when you are ready to store them, wrap the strand around a piece of cardboard –food/cereal boxes are perfect for this – to prevent the string from tangling. If you’re gifting this string of hearts, consider decorating the cardboard holder and/or writing a special message to the recipient.
Saved by Grace Designs is an online shop handcrafting beautiful and practical creations like cherry pit packs, apparel, accessories and so much more from Upcycled materials. Andrea, the shop owner, strives to use minimal and environmentally friendly package for all her items. She loves doing custom orders because “the best way to keep something out of a landfill is to tailor an item exactly to a person’s tastes”.
Please note that a portion of the proceeds from each sale at Saved by Grace Designs is donated to causes working to alleviate the suffering of women and children. For every purchase made from the shop between now and February 20th, Andrea will include a SweetHeart Love String of 14 hearts as a special gift along with your purchased item.
If you’d like to stay updated on the latest blog posts, new items added to the shop, announcements, discounts and special offers, you can find Andrea on Twitter and her blog.

