By Jennifer Tuohy

Since I started writing this Easy Upcycling column, I’ve become slightly obsessed with finding new uses for old things. The satisfaction I get from using something that I not only made myself, but that cost me and the planet virtually nothing, is really worth the extra effort.
For my next project I decided to step it up a notch, get out some real tools (but still keeping it within the realm of an “easy” project), and see what we could do with an old two-drawer dresser that had been sitting in our shed, slowly rotting. We had hung on to it because I don’t like to throw anything out until I’m completely sure I can’t find another use for it.
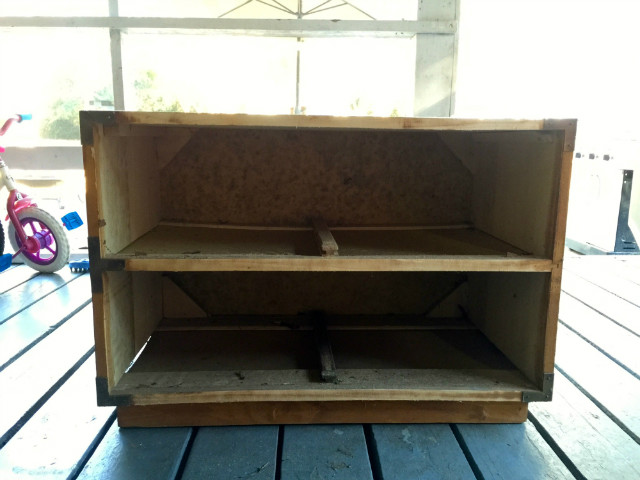
This was quite the sad case, however: a bit moldy, not particularly attractive, warped, cracked and slightly smelly. But there were still some serviceable parts in it, and we needed a small entertainment center in our master bedroom. This was the perfect height.
After a good cleaning, we knocked out all the drawers and all the hardware inside. It is about 50 years old, built back when they used nails, not glue, to put things together, so it was relatively easy to break apart with a hammer.

We then removed the bottom sash so were left with just a box. Some sandpaper combined with a lot of elbow grease, wood putty in the cracks, and a couple coats of white paint really brought it back to life. Now we could begin to see how it could find a new home in our home.

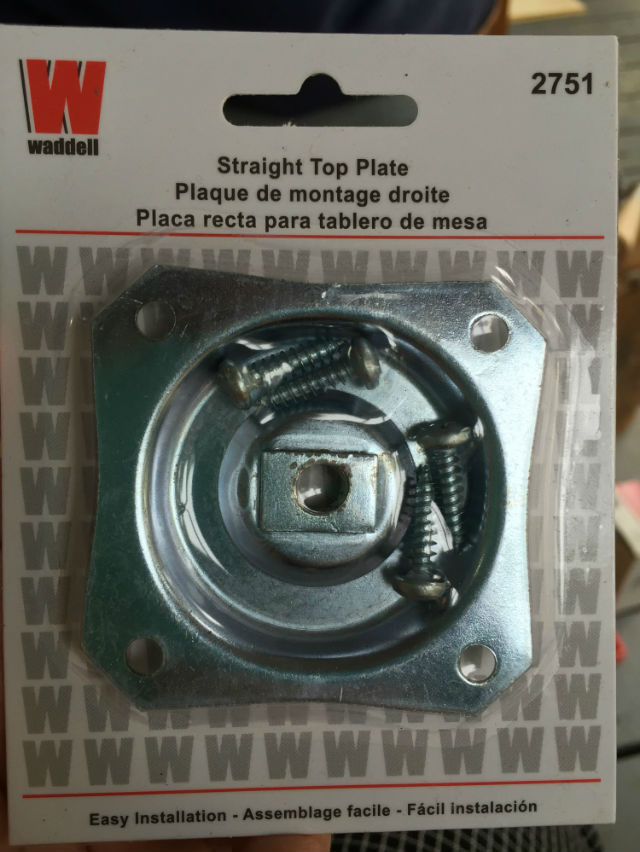
The next step was to build some feet. Because we have hardwood floors, we didn’t want to put the dresser straight on them without some sort protection. We found these little wooden feet ($3 each), and stained them to match our floors (with some leftover stain from that project). Then we attached them to the bottom of the box with angled mounts ($1.50 each), to give it a bit of character.
A small shelf for the inside was the penultimate step. We wanted it to hold the cable box, Apple TV, and a few other home theater essentials. As these electronic boxes are getting so much smaller, we decided to put the shelf up high to leave a larger space underneath for our Wii and all its paraphernalia.
Building the shelf was actually the trickiest part of the project. We bought a small piece of pine ($20), cut it to fit, and then painted it the same color as our bedroom wall (a small touch that really helps tie it into the rest of the room). We had to nail little one-inch boards to the inside of the box for the shelf to sit on, and then attach the shelf to those. We used trim nails, which disappear into the wood, but aren’t the strongest. However, we will just be putting light electronic items on the shelf so it shouldn’t be a problem.

The final step was to make a place for all the cords and cables to go through. We drilled two holes in the back with our largest drill bit, and put little desk cable management rubber grommets ($1 each) in each one to give them a nice, finished look.
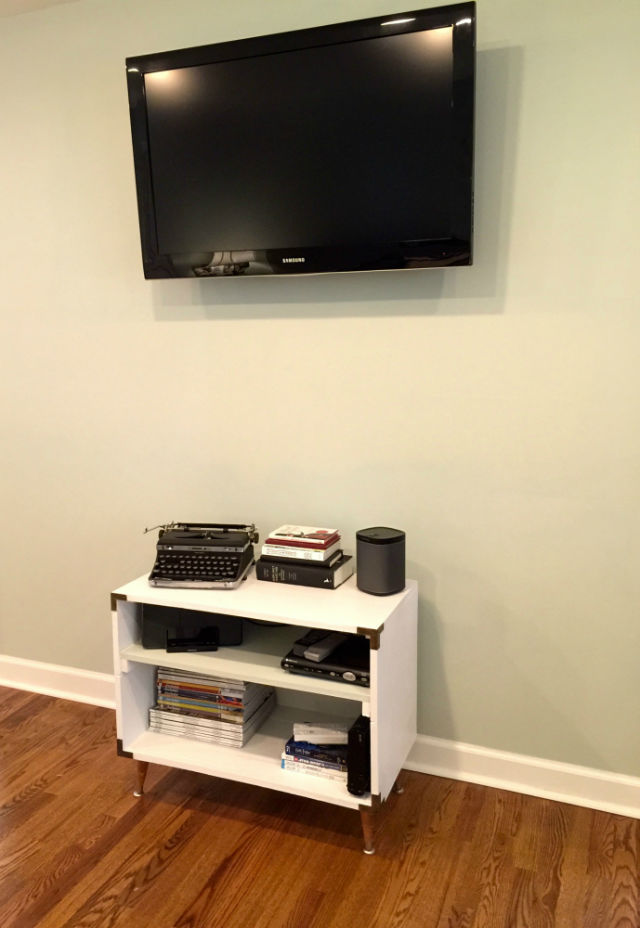
That was it. The conversion was pretty simple, and now we have the perfect mini entertainment center to sit under our wall-mounted flat screen TV. All in, it cost just under $50 (and about four hours of our time) to turn that old, rotting dresser into a funky new entertainment center.
Jennifer Tuohy writes about green homes and DIY upcycling for The Home Depot. If you’re looking for non-upcycled entertainment center ideas for your home, you can visit Home Depot’s online section here.