
by Jennifer Tuohy
When we moved into our 1960s-era home, it came with a lot of vintage light fixtures. Some had enough mid-century modern style to keep as they were. Others were just a little too dated for the look we wanted.
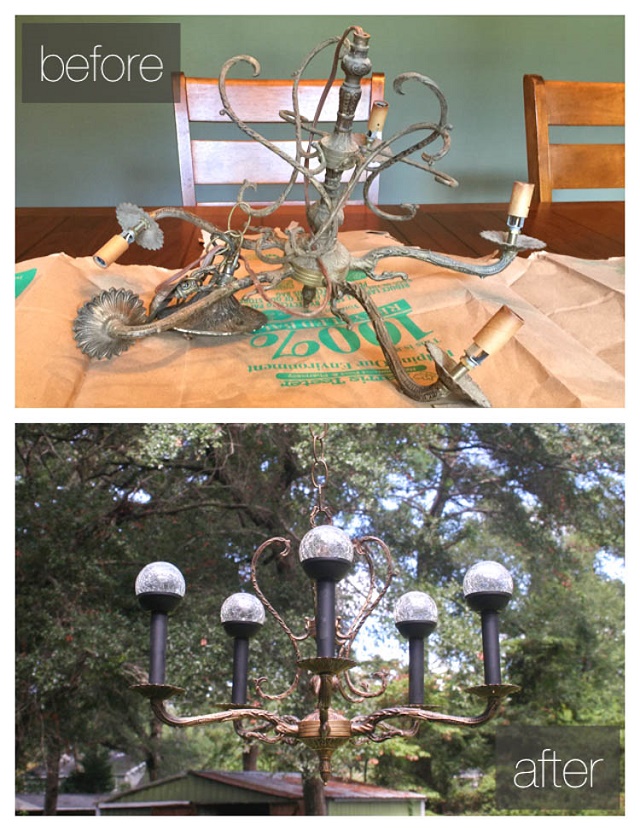
One such fixture was an elegant brass chandelier. It had hung over the table in a rather grand dining room, and while we quite liked it, its electrics were flaky and it just didn’t have enough “oomph” for the space. So, when we decided to invest in a beautiful new chrome and crystal chandelier for the dining room, I was determined to find a new use for this old chandelier by turning it into an elegant solar garden lantern.
This project is one of the biggest “bang for your buck” upcycle projects I’ve ever done. It looks—if I do say so myself—like something you would pay a lot of money for at your local garden store, yet cost less than $20 to make. This was due to the fact that we already had the chandelier, but you can quite often find these at thrift stores for just a few dollars. The project took under an hour to make. Here’s how I turned an old chandelier into a new solar garden feature.
Supplies & Tools
- An old chandelier
- 5 solar-powered landscape post lights
- Brasso and super fine steel wool
- A small handsaw
- A Dremel tool
- A pair of wirecutters
Safety First! Make sure your chandelier is unplugged and fully disconnected from power before cleaning or removing the wiring.
Step One

The first step is to clean and polish the chandelier. I gave it a good cleaning using lemon juice and baking soda. Next, I broke out the Brasso and gave the whole thing a good polish with a soft cloth and some super fine steel wool for the really tough bits.
Step Two
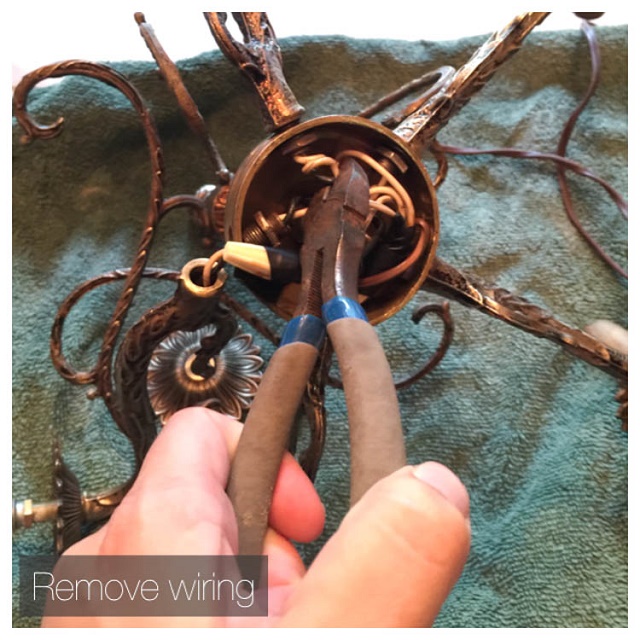

I then cut out all the wiring with a pair of wirecutters and lots of pulling—although in retrospect, it would have been better to do this before cleaning. At this stage, I also unscrewed the light bulb connectors from each arm so I was left with just the bare bones of the brass chandelier.
Step Three

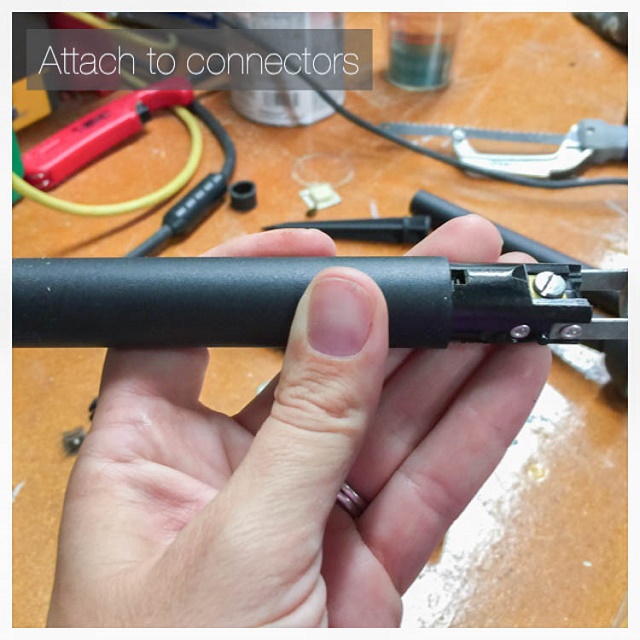
I then stripped the connectors down to the bare plastic and, using a Dremel tool, smoothed them down so they would fit into the bottom of the solar light landscape poles. This enabled me to screw them back on to the chandelier.
Step Four
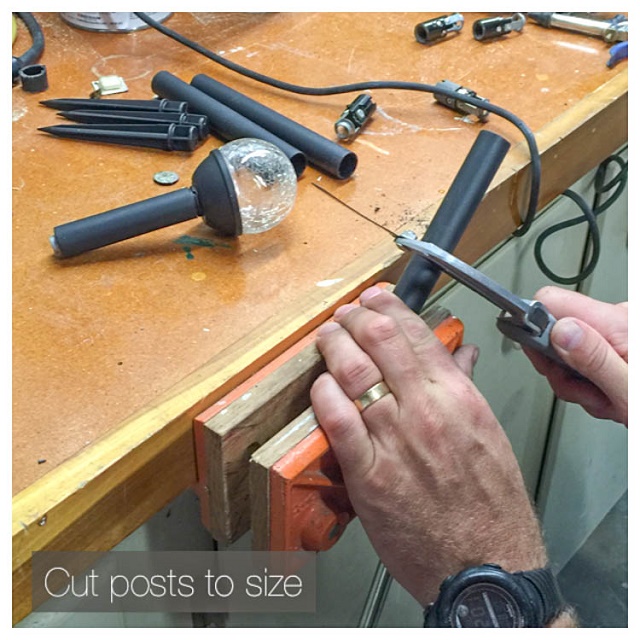

Next, I cut the solar light’s landscape posts to the shortest length possible in order to fit the solar light and the light bulb connecter inside. Then I Dremel-ed the edges smooth.
Step Five
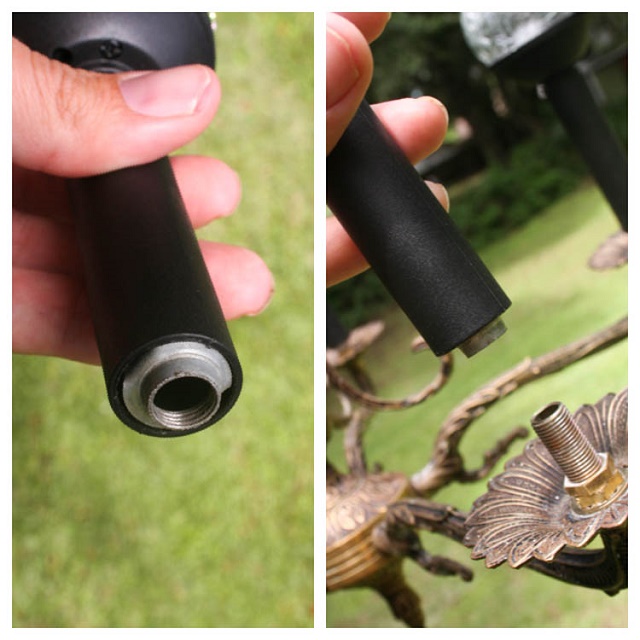

Now all I had to do was attach the light bulbs to the shortened posts and then screw them onto the chandelier. (If this hadn’t worked, a hot glue gun would have been my next option for attaching the posts to the chandelier).
Finally, I took the chandelier outside to soak up some rays and enhance my garden. Because it’s completely solar—bar some rechargeable AAA batteries for the LED lights bulbs—I can easily move it around. I tried hanging it on a birdfeeder pole, from the roof of my porch and finally from a large (non-electrical!) wire I have in the middle of my garden, which is by far my favorite spot.
Jennifer Tuohy is an upcycling enthusiast who lives in Charleston, S.C., and writes about her projects for The Home Depot. Jennifer is a big supporter of green homes, so her chandelier to solar lighting is a double win. If you are researching a potential replacement for your current chandelier, you can view a wide assortment of new ones at Home Depot’s website.