Last month I told you about America’s wasteful convenience of NOT recycling juice pouches. These lightweight, flexibly packaged drinks are great to bring along in a picnic basket or lunch box. But unfortunately, they are also polluting water streams and piling up in landfills.
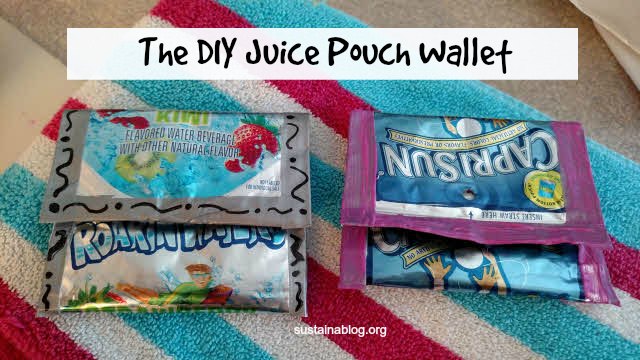
Because of their durability and colorful designs, juice pouches easily can be transformed into something new. There are hundreds of ideas to try, but for this posting I chose a coin pouch tutorial by Jazz Jade Crafts. Children and adults alike will have fun making these wallets to keep for themselves or give to a friend. Let’s get started!
Six Steps to Creating a Summer-Inspired Accessory: the Juice Pouch Wallet
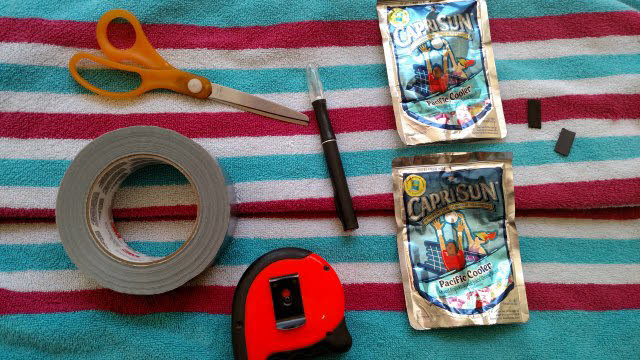
You’ll need the following materials:
- Two clean, dry juice pouches
- Exacto Knife
- Tape Measure or Ruler
- Strip of Magnets (you’ll need glue if your magnets don’t already have adhesive)
- Scissors
- Duct Tape (** My apologies for using gray tape, but it was all we had available at the time.)
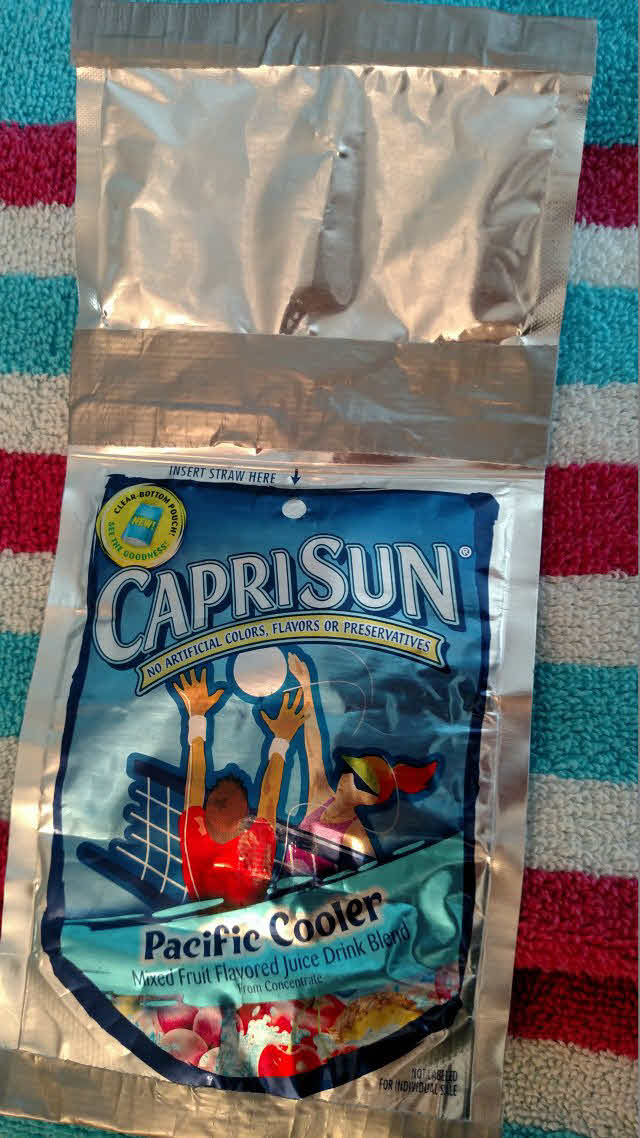
To clean your juice pouch, cut a slit in the bottom, the part where you can see the juice inside. Fill with soapy water and rinse. Dry your pouch with a towel and/or a blow dryer to remove any excess water.
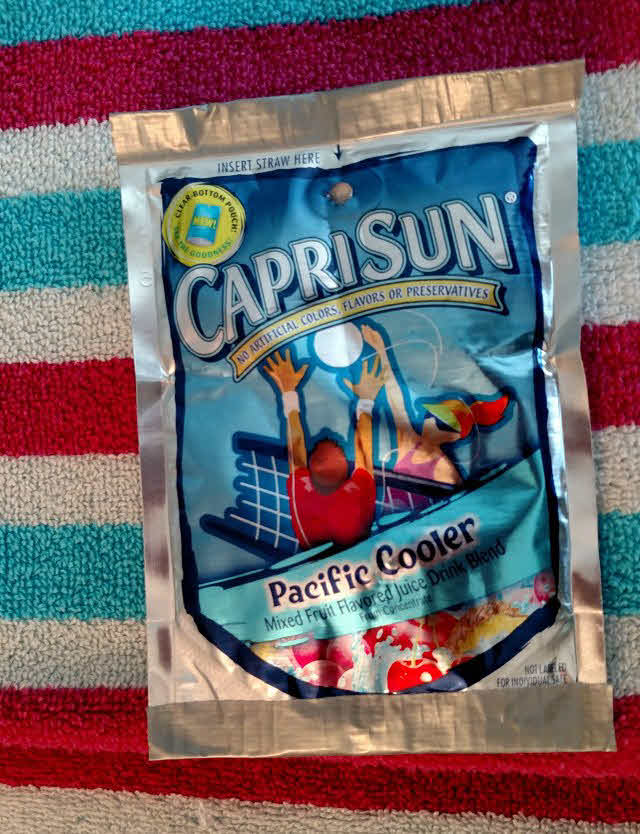
1. Cut one 6 inch and two 4 inch strips of duct tape. Make one vertical cut down the middle to divide each piece of tape into two pieces. Place one 4 inch strip of tape across the top and bottom of one of your juice pouches. You should have equal amounts of tape on the front and back sides. Trim any excess tape.
Place one of your 4 inch strips of tape across the bottom ONLY of the other juice pouch. Trim any excess tape. You’ll need your other piece of tape a bit later.
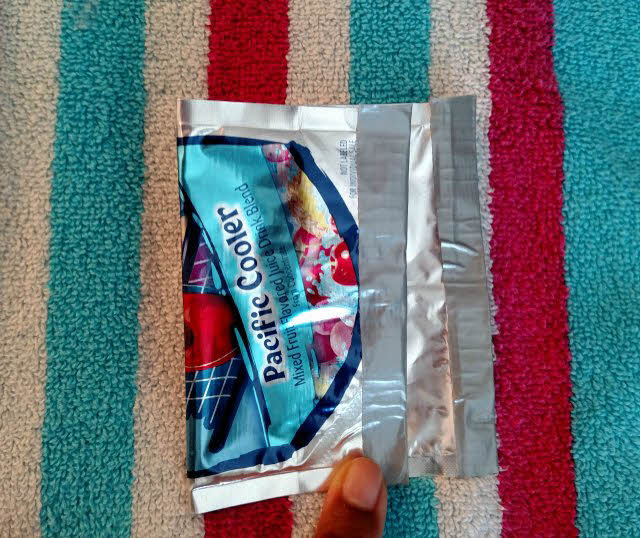
2. Fold the pouch with tape on the top and bottom in half, leaving a little extra material at the top.
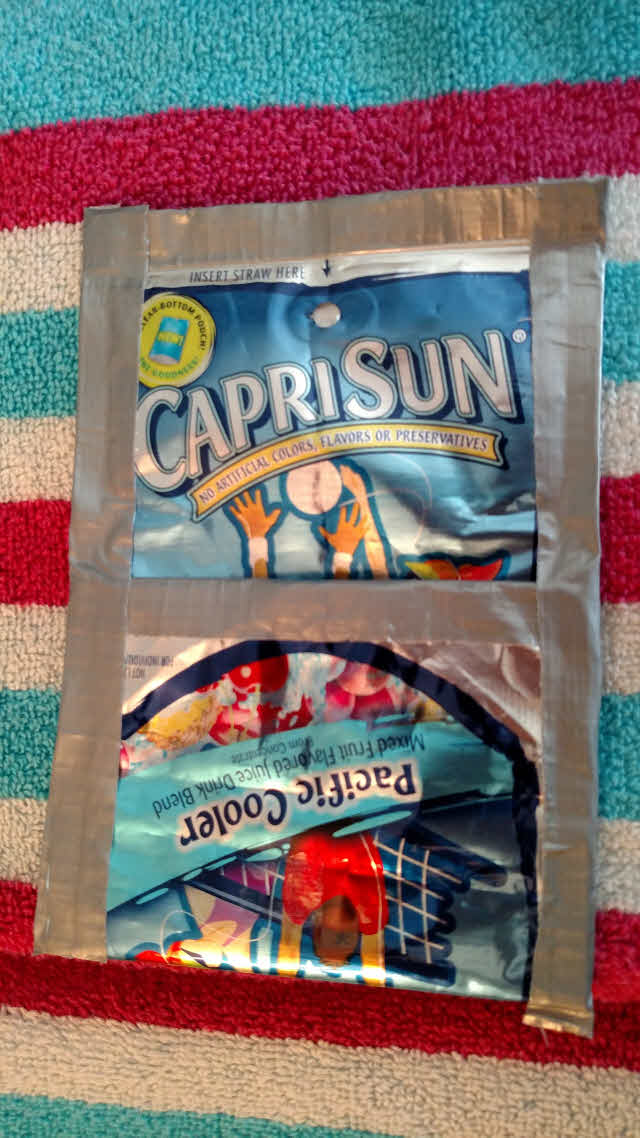
3. Place the juice pouch, the one with the tape on the bottom, into the crease of the other pouch. Use your other 4 inch piece of tape to attach the two pouches together. Fold the top of the pouch about halfway down and the bottom of the pouch up to create flaps. I know this may seem confusing now, but it’d be a lot easier when you’re making your wallet.
4. Then place one 6 inch strip of tape on each of the longer sides of your wallet. You should have equal amounts of tape on the front and back sides. Trim any excess tape.
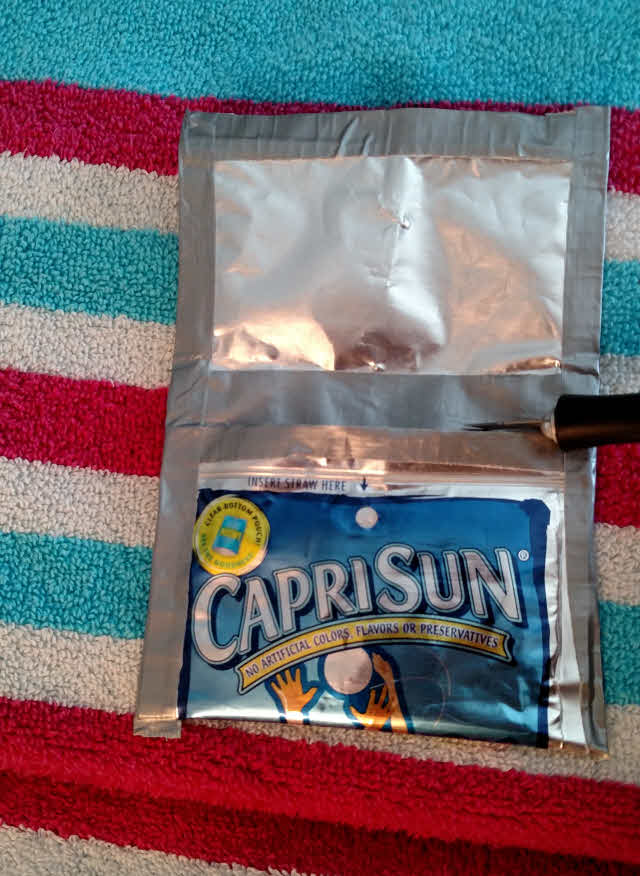
5. Use your Exacto knife to cut an opening in the wallet for your treasures. Try not to press too hard as to not a cut a hole through the wallet.
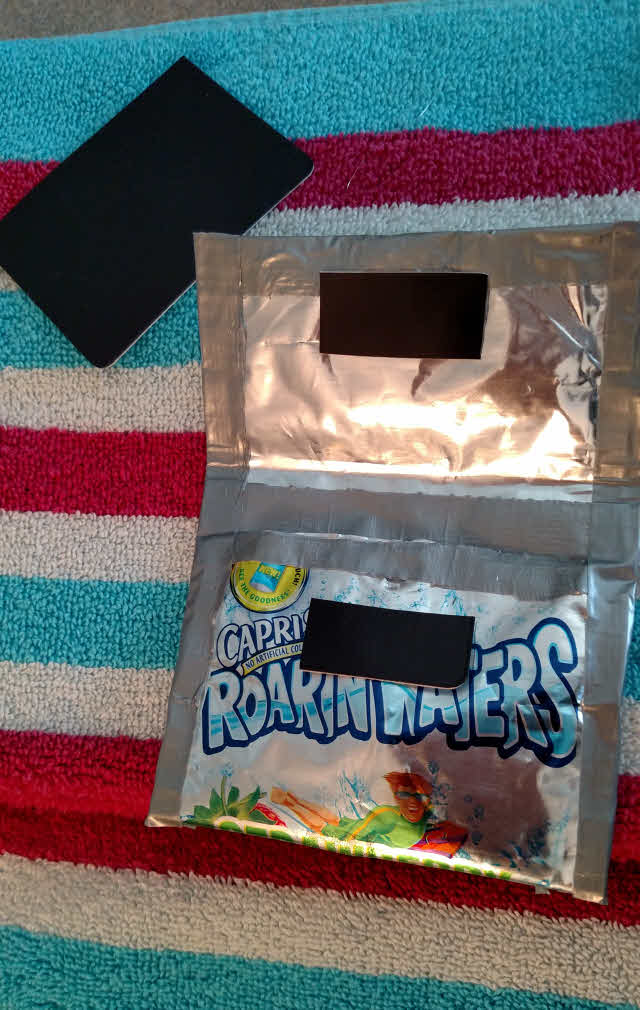
6. Attach your magnets to the outside bottom panel and inner top flaps of your wallet. I used extra refrigerator magnets we’ve collected over the years, rather than buying new ones.
7. All done! If you have gray tape like me, you may want to use a marker or paint to add some cool designs to your wallet.
What do you think of this juice pouch craft? If try you it, I’d love to see what you make by posting a picture in the comment section. When you’re done crafting, consider joining a “brigade” and mailing in any leftover used juiced pouches for a good cause.

