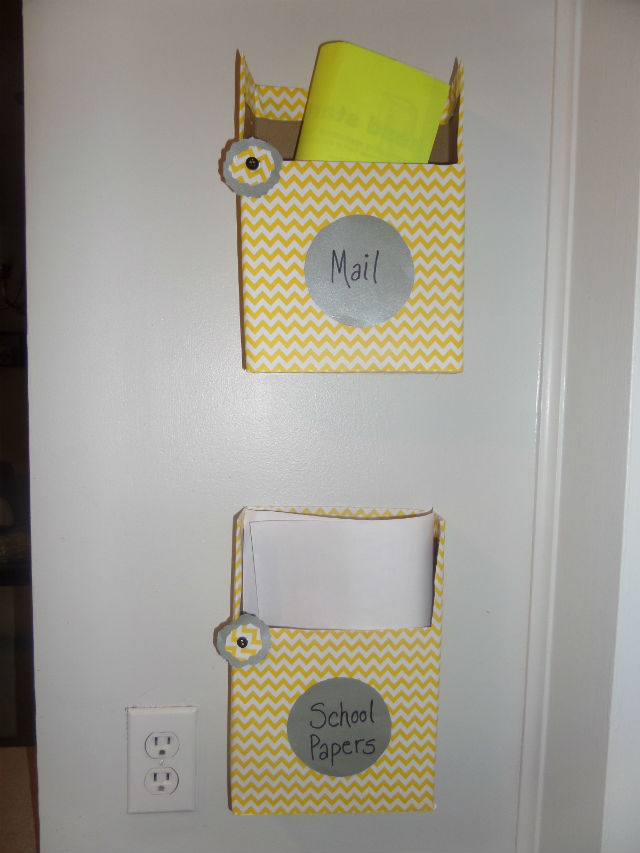
School has only just begun and our kitchen counters have transformed into command central for all things paperwork. There’re forms to list our contact information and others to describe my child’s strengths and weaknesses. We also have booklets, packets and so much more. The clutter of all of the papers can become a bit overwhelming; so, I took to the blogosphere for useful, inexpensive solutions.
Over on Soho Sonnet, a fellow mom features a simple, step-by-step tutorial to make hanging wall files from used cereal boxes. I made mine in ten minutes or so, and you can too. In addition to cereal boxes, you’ll need scissors, decorative paper or wrapping paper and glue to get started.
Here’s a summary of instructions to make your own upcycled wall files:
- Remove the flaps of your cereal box.
- Cut an opening onto one side of your box. Try not to get too technical about the dimensions of the shape. I cut about three to four inches off the front side of the box to allow me to see the tops of papers while they are in the box. Just do what best suits your needs.
- Use glue to cover your box with paper. I used funky, chevron patterned paper, but scrapbooking and/or wrapping paper is also great for this project. I used hot glue to stick my paper to the boxes, but liquid glue or spray adhesive also will work fine.
- Add labels to your boxes to designate a special place for all of your papers.
- Depending on where you want to hang your newly designed wall files, you can attach magnets to the back of the boxes to adhere them to the refrigerator or hang them on the wall using small nails or push pins. Began enjoying your tidy counters and desks!
Yep, it’s just this easy to upcycle cereal boxes into practical and chic creations. The upcycling fun doesn’t have to end here. There are at least seven more uses for empty cereal boxes. And don’t forget to reduce, reuse and/or recycle paper whenever you can.
