By Julia Marchand
Is there a basket in your crafting area brimming with random lengths of yarn, ribbon, or twine? Do you find it hard to throw away leftover scraps of string simply because you don’t want to create any more waste, and it may come in handy someday? Today is that day!
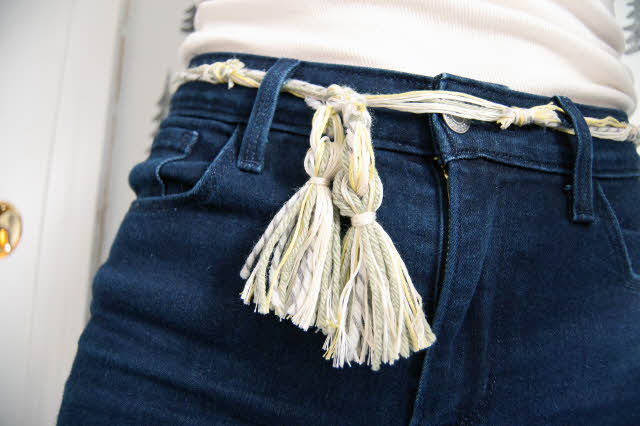
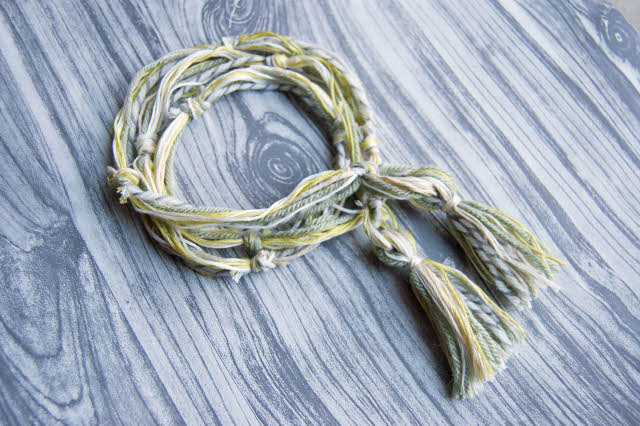
It’s easier than you think to whip these little bits into a string belt that will become the cherry on top of a fashionable friend’s outfit. Giving a green gift like this upcycled belt is the perfect way to share your fondness for the earth with loved ones. Here’s how you can pull it together yourself.
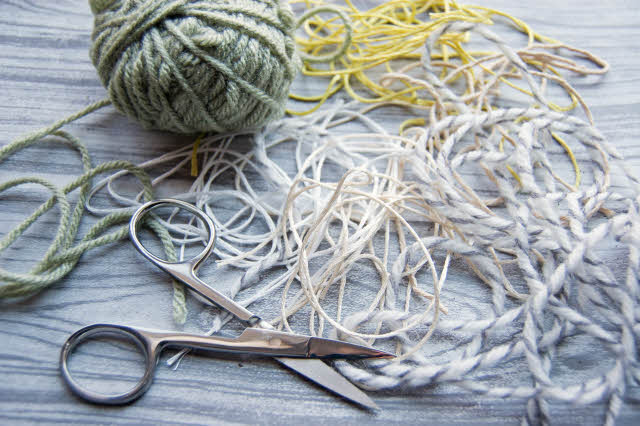
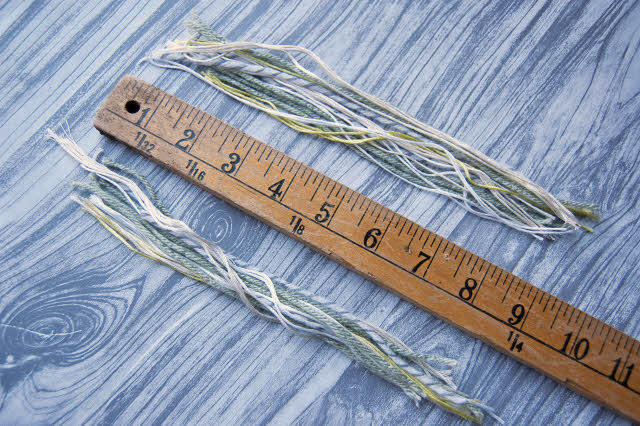
Step 1: Gather up bits of strings in complimentary colors. Any pieces that are about five inches or longer will work well, so rescue those scraps from the landfill! You will also need a pair of scissors and a yardstick or tape measure.
Step 2: With some new twine or ribbon (pick something sturdy as this piece will be the base for the belt), cut one length that is about five inches longer than your gift recipient’s waist.
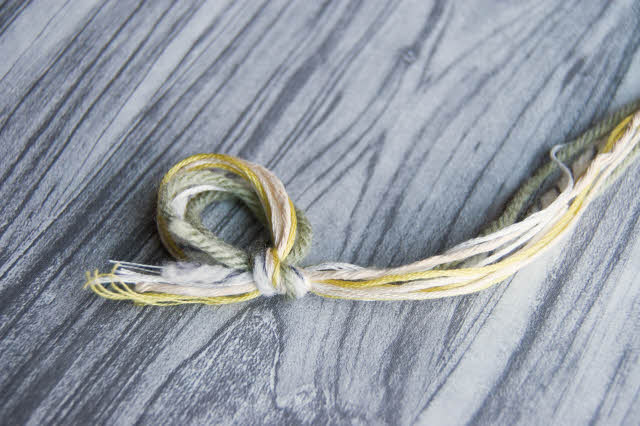
Grab a variety of strands from your scrap basket and line them up with one end of your base string. Tie all of these strands together in a double knot, creating a little loop.
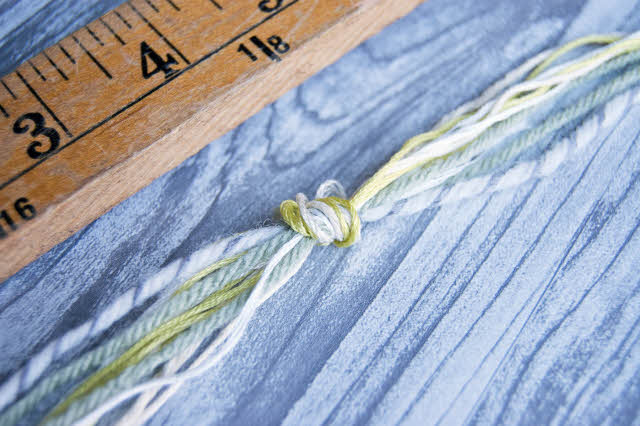
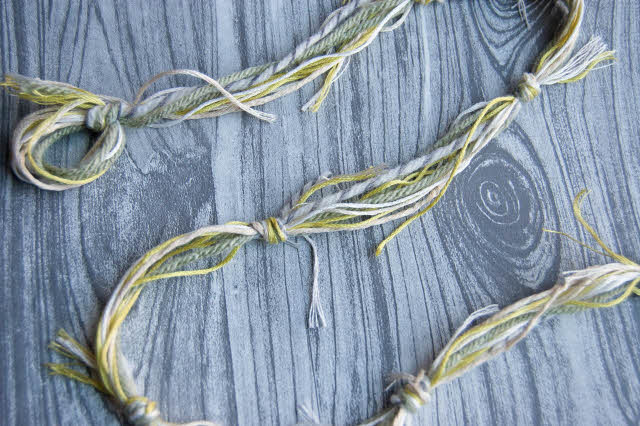
Step 3: Lay out your measuring device and locate the spot that is four inches from your loop. Note how many strands will end between this 4-inch mark and the 8-inch mark. If there are three strings that end before the next knot, grab three new scrap strings in similar colors and place these with their starting ends at the 3-inch mark. Carefully tie a knot at four inches, making sure to secure the new and old strings together.
Step 4: Continue to tie a knot every four inches, adding new strands as old ones end. Keep going until you have almost reached the end of your base strand, then tie everything into another small loop just as you did in the beginning.
Step 5: Trim away the excess strands hanging from all knots. A little fraying here and there will help capture that boho vibe, but you don’t want the belt to look too out of control, so reining it in a little is a good thing.

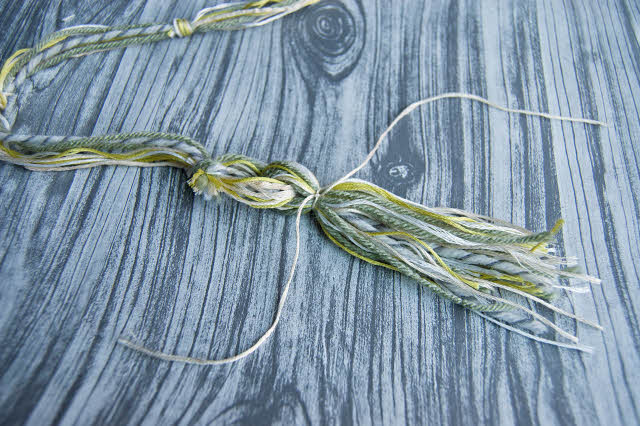
Step 6: Now it’s time to make some tassels! Choose a bunch of strands that are about nine inches long. Slip them straight through one of the loops on the end of your belt and fold the new strands in half.
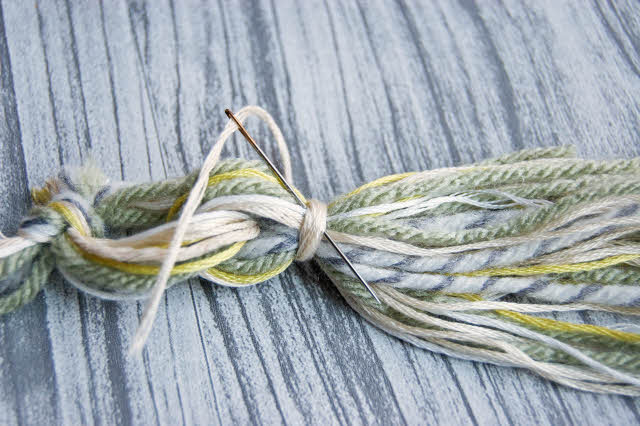
Step 7: Place a piece of embroidery floss (or similar twine) down perpendicular to your new tassel strands, close to the top near the loop on the belt. Tie a tight knot with it, then wind the tail around and around until you’ve almost run out of string.
Step 8: Thread what’s left of the tail through an embroidery needle and tuck it down through itself so it hangs with the rest of the tassel pieces. Do this again with the other end of this string.
Step 9: Trim your tassel to desired length and repeat on the other end of the belt.
To fasten the decorative belt, simply slide it through belt loops and tie a loose knot. This easy green gift is the perfect DIY project for a crafter with little time but lots of consideration for friends and the environment. Have fun with your holiday gift-giving this season and make it one to remember.
Julia Marchand writes for eBay about living an eco-friendly lifestyle. She loves showing people how to be green AND fashionable by making her own accessories or by buying pre-owned ones (here).