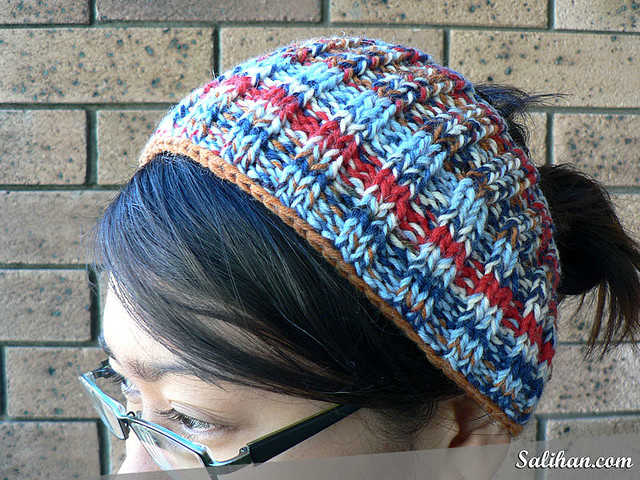
Over the years I’ve shared with you many ideas of how to transform old clothing and shoes into chic, like-new pieces. We’ve revamped shoes, made rosettes from t-shirts and more. As the winter season quickly approaches, I thought it’d be fitting to share with you how to make a head wrap from an unwanted sweater. A head wrap is a long strip of fabric worn around your head that covers your ears and nape of the neck. The fashion accessory has an extensive history of being worn by women and men in African and Middle Eastern cultures. In recent years, the style has been adopted and modernized by American women. It’s a convenient go-to winter piece that helps you stay warm without the “helmet hair” effect. Hey, don’t judge us girls! We want to look great while taking on the harsh winds and freezing temps.
I particularly like this upcycling project because it helps to reduce the excessive amount of textiles piling up in landfills each year. You’ll only need a sweater, scissors, sewing machine or thread and needle to get started. Bev over at Flamingo Toes provides an easy-to-follow tutorial with photographed steps in case you need more details. But I’ll give you summary for now:
- Measure the circumference of your head to ensure that you have enough fabric.
- Lay out your sweater to choose which part of it would work best for you. I’ve found that fabrics with ribbing will stay in place better than smooth ones. Then decide how wide you would like your headwrap to be. Bev recommends cutting the material approximate 8 inches wide.
- Fold the material in half, use a sewing machine or needle and thread to adhere the longer side. Leave the two shorter sides open. I think you could also use fabric glue for this project, but be sure to allow enough time for the fabric to completely dry in between steps.
A tip to keep in mind is matching your thread to your sweater color will make for a “seamless” look, and an easy way to disguise minor sewing errors.
- Turn the “tube” inside out and line up and sew all of the sides together. Leave about 1 inch open to leave you space to flip your headwrap right side out. The sewn seams should be in the inside now.
- Sew the small hole close by hand with needle and thread. You’re almost done!
- Add rosettes, pearls, beads and/or fabric bows to customize your look.
What do you think of this style? Have you ever made any upcycled winter accessories? I’d to see your creations!

